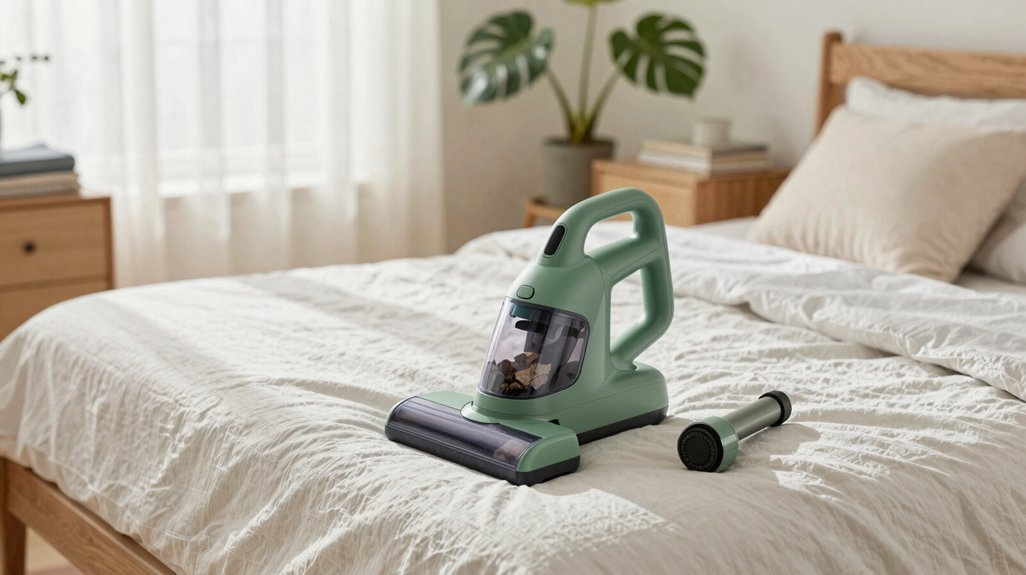
Your mattress collects about a pound of dead skin cells each year, like a silent savings account you never asked for.
You spend roughly a third of your life on that surface, yet most people never think to clean it properly.
The good news? You don’t need fancy equipment or professional help to get it fresh.
These ten steps will walk you through everything from stripping the bed to adding a waterproof protector, using common items like baking soda, vinegar, and your vacuum’s upholstery attachment.
By the end, you’ll know exactly how to extend your mattress life and sleep better, too.
Why Your Mattress Needs Deep Cleaning (And How Often)
Although you can’t see what’s happening inside your mattress, it’s basically a thriving ecosystem you’re sleeping on every night. You’re sharing that space with up to 10 million dust mites, which feed on your dead skin cells and can trigger allergies or asthma. That’s why mattress deep cleaning matters: it’s not just about removing stains or odors.
You should tackle deep cleaning your mattress every few months; about twice a year works great. This routine helps kill dust mites, removes excess moisture, and clears out residue that regular vacuuming misses.
If your mattress is 8+ years old, it’s holding even more sweat and debris, so cleaning becomes extra important. Don’t forget to rotate your mattress when you clean. Spinning it 180 degrees keeps wear even and support consistent.
Recommended Products

360° Coverage Protection – Fits 54 inches by 75 inches full size mattress up to 13 inches deep, fully encasing all sides. The stretchy fabric slips on easily and stays securely in place without shifting. Refer to the installation video below for step-by-step guidance.

Bed Bug Mattress Encasement Sealed on All Six Sides: The nylon zipper closure glides around three sides and tucks under a stitched guard flap, leaving no open corner or gap at the pull; sleep tight knowing nothing crawls in and nothing crawls out

360° Coverage Protection – Fits 39 inches by 80 inches twin xl size mattress up to 13 inches deep, fully encasing all sides. The stretchy fabric slips on easily and stays securely in place without shifting. Refer to the installation video below for step-by-step guidance.
Strip the Bed and Inspect for Dust Mites, Stains, and Wear
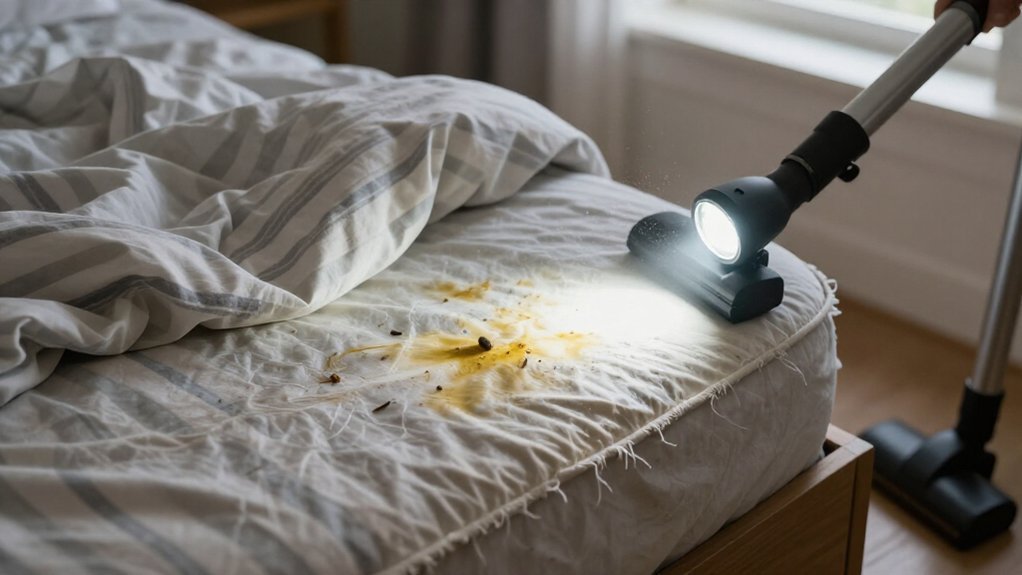
Before you can actually clean anything, you’ve got to strip the bed down completely. Pull off every sheet, pillowcase, and mattress protector, then toss them in hot water, at least 130°F, to knock back dust mites that snack on your dead skin.
While you’re at it, scan the mattress surface for any stain, weird smells, or sagging spots, especially up by the head and foot where wear shows first. Peek at the seams and edges too; that’s where dust loves to hide. If you see signs of pests, deal with those before you try to clean.
Older mattresses, around 8+ years, usually hold more grime, so note what you’re working with before grabbing baking soda, water and white vinegar, or planning to vacuum.
- Strip all bedding, including the mattress protector, and wash hot
- Spot stains, odors, and sagging across the mattress surface
- Check seams and edges for hidden dust buildup
- Look for pest indicators before deep cleaning
- Assess age and wear to plan your approach
Recommended Products

Perfect Fit: Compatible with mattresses 13-16 inches deep

360° Coverage Protection – Fits 78 inches by 80 inches king size mattress up to 15 inches deep, fully encasing all sides. The stretchy fabric fits on easily and stays securely in place without shifting. Refer to the installation video below for step-by-step guidance.

360° Coverage Protection – Fits 60 inches by 80 inches queen size mattress up to 15 inches deep, fully encasing all sides. The stretchy fabric slips on easily and stays securely in place without shifting. Refer to the installation video below for step-by-step guidance.
Vacuum the Mattress Surface, Seams, and Sides
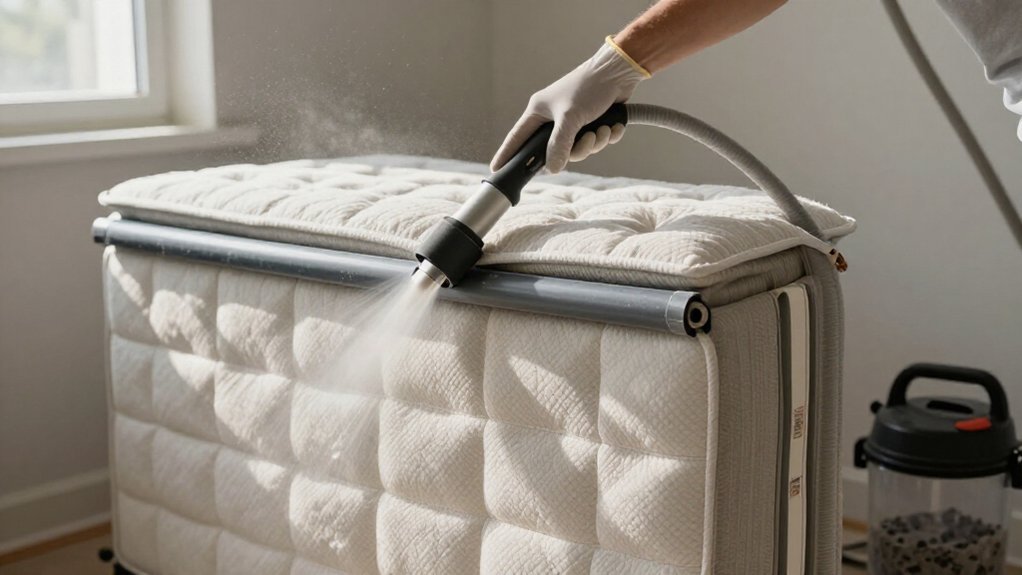
The first real cleaning step is vacuuming, and you’ll want to grab your machine’s upholstery attachment for this job. Vacuum your mattress by running the tool across the entire mattress surface in overlapping rows, which lifts embedded particles from the top fabric. You’re removing dust and allergens that settle deep into the material.
Switch to a crevice tool for the seams, stitching, and corners, since these spots trap the most buildup. Dust mites love hiding in these tight spaces, so take your time here. Don’t skip the sides, either; that’s where debris collects from nightly contact.
If your vacuum has a HEPA filter, use it. It captures finer particles standard filters miss. Empty the bag when it fills, and plan to vacuum monthly between deep cleans to keep dust-mite food, dead skin cells, under control.
Recommended Products
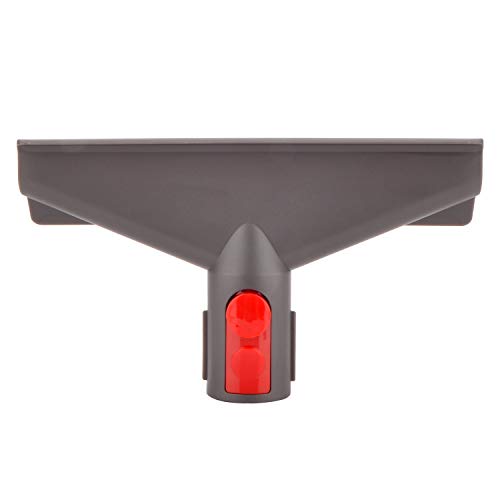
Compatible with Dyson Cordless Stick and Handheld Vacuum Cleaners: Works with Dyson GEN5, V15, V15s, V12, V11, V10, V9, V8, V7, and many more models including SV10, SV11, SV12, SV14, SV15, SV16, SV18, SV27, SV28, SV29,Compatible with Detect,Submarine,Outsize,Slim,Absolute,Cyclone,Torque Drive,and more

[Fit for Dyson] — The mini head tool is just suitable for Dyson V7/ V8/ V10/ V11/ V15 cordless stick vacuum cleaners. Please kindly check your machine model before ordering.
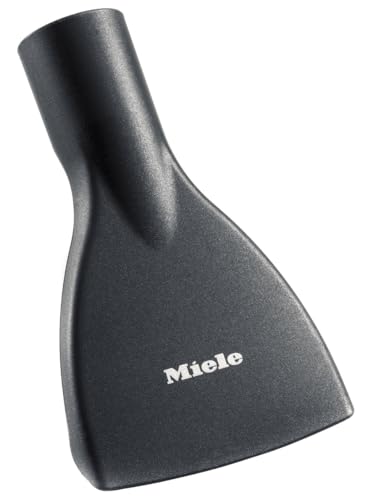
Number of pieces: 1.0
Spot-Clean Stains With Soap or Vinegar Solution
Once you’ve finished vacuuming, you’ll want to tackle any visible stains before moving on. For spot cleaning, you’ll mix warm water with a small amount of mild dish soap, or fill a spray bottle with equal parts white vinegar and water. Lightly mist your solution onto a clean cloth, never soaking the mattress directly, then blot the stained area gently.
For biological stains like blood or food, grab an enzyme cleaner, spray it onto a cloth, and blot. Always test any cleaner on a hidden corner first. Continue blotting with a second clean damp cloth until the stain lifts. Let it sit, then let the area air dry completely before covering the mattress. Speed things up with a fan to prevent mold.
- Mix warm water and mild dish soap, or combine vinegar and water in a spray bottle
- Dampen a clean cloth lightly, never pour liquid directly onto the mattress
- Blot the stained area gently, don’t rub or scrub
- Use an enzyme cleaner for protein-based stains like blood or food
- Air dry completely with a fan to prevent moisture damage
Recommended Products

A HOUSEHOLD CLASSIC: This 2.7 lb resealable bag of ARM & HAMMER Baking Soda unlocks 100+ uses across your home—from kitchens and laundry rooms to crafting tables and beyond
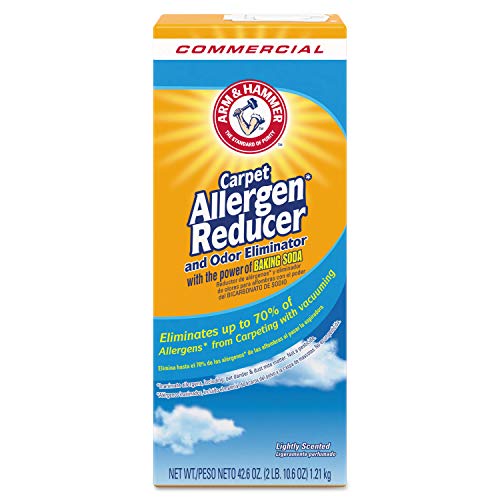
Unique powdered formula eliminates odors at the source

ON-THE-GO ODOR CONTROL: ARM & HAMMER Fresh Effects Odor Neutralizing Pouches instantly absorb and eliminate big odors while you're on the move
Deodorize With Baking Soda to Absorb Odors
Why does your mattress still smell a bit off, even after you’ve tackled those visible stains? Lingering odors hide deep in fabric fibers, so you’ll need to deodorize with a simple, proven method.
Grab some baking soda, strip all your bedding, and sprinkle a thin, even layer across the entire surface. Pay extra attention to areas with stronger smells. The baking soda works to absorb odors and moisture that cling to the material, leaving your mattress fresh.
Sprinkle baking soda across your stripped mattress, focusing on smelly spots, and let it absorb odors and moisture for a fresher bed.
You’ll want to let it sit for at least 30 minutes, though several hours or overnight gives you better results for stubborn smells. When you’re ready, grab your vacuum and start vacuuming your mattress with an upholstery attachment. Focus on edges, corners, and seams where remaining baking soda and odors linger.
If smells persist, repeat the process before adding your mattress protector.
Recommended Products

Powerful stain removal 1st time – works in just 3 mins

✅ HARSH ON STAINS NOT THE FABRIC: The toxin-free stain remover formula removes just the stains, not the beautiful color of your clothes. Our effective yet gentle stain remover for clothes does not contain bleaching agents or leave dirt-attracting residues, so spot remover should not harm your fabric. You can use Grandmas spot remover worry-free on your expensive investment.
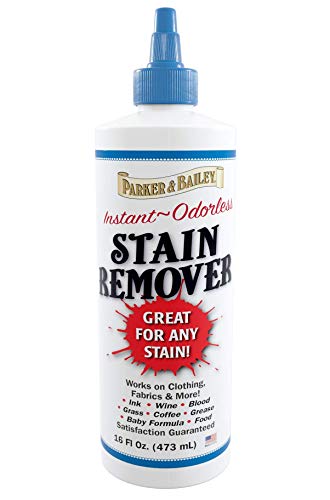
Removes fresh and dried blood stains from clothing sheets mattresses and fabric our specialty since 1879
Let the Baking Soda Sit, Then Vacuum Thoroughly
You’ll want to let that baking soda sit for at least 30 minutes, though you can leave it on longer if your mattress has some serious odor issues. After you’ve waited, grab your vacuum with the upholstery attachment and work in overlapping passes, making sure you hit every seam and crevice where that powder loves to hide.
For the best results, do a quick second vacuum pass to catch any stragglers, then double-check that everything’s fully dry before you remake the bed.
Recommended Products

Zippered mattress cover stretches to fit any Queen (60” x 80”) standard mattress depth from 12" to 18"

Bed Bug Mattress Encasement Sealed on All Six Sides: The nylon zipper closure glides around three sides and tucks under a stitched guard flap, leaving no open corner or gap at the pull; sleep tight knowing nothing crawls in and nothing crawls out

WATERPROOF: Soft, quiet top fabric is backed by a waterproof layer, protecting your mattress from unexpected spills and stains.
Optimal Sitting Duration
A generous dusting of baking soda across your mattress, edges included, sets the stage for what comes next: the waiting game. You’ll want to sprinkle baking soda in a thin, even layer so it can absorb odors and moisture effectively.
The ideal sitting duration depends on how fresh you need things, but you should let it sit for at least 30 minutes. For stronger smells, push it to several hours, or go overnight if you really want that deep refresh.
- A light, even coating covers roughly 5–7 pounds of powder for a queen mattress
- Thirty minutes tackles light, everyday odors
- Several hours handles pet smells or spills
- Overnight gives you maximum freshness
- You’ll vacuum thoroughly with an upholstery attachment once time’s up
Let your mattress air dry until it feels completely dry before adding sheets back.
Thorough Vacuum Technique
Once the baking soda has had time to work its magic, you’re ready to vacuum it up, and this step matters more than most people realize. You’ll want to use a thorough vacuum technique with your HEPA-filter vacuum and upholstery attachment, moving in overlapping rows across the entire surface. Pay extra attention to seams, edges, corners, and crevices where debris loves to hide.
Vacuum again to remove every trace of baking soda, especially along those dust-hiding edges. If you’re doing a full refresh, grab the crevice tool for the sides and mattress border. Finish with a no residue check: run a clean white cloth across the surface to confirm the deodorizing powder is completely gone before you put bedding back on.
Air Dry Completely Before Remaking the Bed
Why risk ruining your clean mattress with hidden dampness? You need to air-dry completely before remaking the bed. After using cleaning solutions like vinegar and water, moisture hides deep in layers. You must absorb excess liquid with dry towels first, then let airflow do the rest.
Open windows wide, or point a fan directly at the surface. Press your palm flat to feel for cool, damp spots that linger. Wait up to 24 hours if you used lots of liquid during cleaning. Blot again with fresh towels if any wetness returns. Check corners and edges twice, where moisture loves to hide.
Once fully dry, you’ll keep your mattress clean and avoid mold growth. A waterproof mattress protector helps, but only after everything’s bone dry.
Recommended Products

Premium Mattress Encasement: Designed to perfectly fit Queen size mattresses measuring 60 inches by 80 inches, with an 12 inch deep pocket for a snug, secure fit.

360° Coverage Protection – Fits 39 inches by 75 inches twin size mattress up to 13 inches deep, fully encasing all sides. The stretchy fabric slips on easily and stays securely in place without shifting. Refer to the installation video below for step-by-step guidance.

Premium Mattress Encasement: Designed to perfectly fit Twin size mattresses measuring 39 inches by 75 inches, with an 12 inch deep pocket for a snug, secure fit.
Rotate or Flip the Mattress for Even Wear
You know how your mattress starts feeling lumpy in that one spot where you always sleep? Rotating it every six months, or every three if you’re noticing sagging already, spreads out the wear so you don’t end up with permanent body-shaped dips.
If you’ve got a double-sided mattress, you’ll want to flip it completely instead of just spinning it, though you’ll probably need a hand with heavier models so you don’t wrench your back or damage the bed frame. Check your manufacturer’s tag too, since some newer mattresses have specific top layers that aren’t meant for flipping, and following those guidelines keeps your warranty intact.
Recommended Products

✅ For Shark Upholstery Attachment – Designed for Pet Hair & Fabric Cleaning: Specially designed shark upholstery attachment lifts pet hair, dust, crumbs, and debris from sofas, couches, mattresses, curtains, and fabric surfaces without damaging upholstery.

[Important Notice]: Mini Motorized Tool Brush Head Only compatible with Dyson V7/V8/V10/V11/V15 Cordless Stick Vacuum Cleaners. Other models DO NOT FIT. Please check your Dyson model before purchasing

Powerful Suction: It utilizes 500 powerful percussions per minute to dislodge deeply embedded dust, skin flakes, and substances invisible to the naked eye, bringing them to the surface. These are then effortlessly removed by powerful suction, ensuring a deep clean
Why Rotation Matters
Although mattresses don’t come with odometers, they do accumulate wear in predictable patterns where you sleep most. You rotate your mattress every six months to prevent sagging and keep wear even, giving your investment a fair shot at longevity. It’s a simple habit that pays off over years of nightly use.
Here’s what this practice looks like in real life:
You notice a shallow dip forming right where your hips settle each night. You grip the corners, planning a 180-degree head-to-foot spin. You check the tag, wondering if you’ve got a double-sided mattress you should flip instead of rotate. You consider whether your foam mattresses or innerspring constructions need different care. You pause to verify manufacturer guidance, keeping your mattress clean and properly supported.
Rotation Frequency Guide
Regularly rotating your mattress every six months keeps wear patterns balanced and prevents those permanent dips where you sleep. You’ll want to spin it 180 degrees, swapping the head and foot, to even out the wear patterns from your body weight.
If you’ve got a flip double-sided mattress, that’s a different story, but for most modern beds, rotation’s the way to go. Notice early sagging or body impressions? Increase your frequency to every 3 months instead. Heavy use, like kids jumping or multiple sleepers, means you’ll need to rotate more often to prevent sagging and avoid permanent indentations.
Memory foam mattresses still need this care, though you shouldn’t flip them. Check your manufacturer’s guidance, since some brands have specific rules. Stay consistent, and you’ll add years to your bed’s life.
Flip vs. Rotate
Since your mattress type determines whether you flip or rotate, you’ll want to check what you’re working with first. A double-sided mattress lets you flip it completely, top to bottom, while a single-sided mattress only needs a 180-degree spin head-to-foot. You’ll rotate every six months to stop sagging and spread wear evenly, but bump up the schedule if you spot indentations forming early.
Always follow your care instructions, since some brands suggest flipping just the top pad instead of the whole unit. Heavy mattresses take some tugging, so get help if needed.
- Rotate your mattress 180 degrees head-to-foot to prevent body-shaped sagging zones.
- Flip a double-sided mattress completely for fresh sleeping surfaces on both sides.
- Check for indentations monthly, rotating more often if they appear.
- Review your care instructions before flipping any single-sided mattress.
- Add a mattress protector to shield against spills during rotation day.
Add a Waterproof Protector and Schedule Future Cleans
Once your mattress is completely dry, it’s time to add a waterproof protector, which acts as a simple barrier against spills, sweat, and the odors that come with it, plus dust and allergens that build up over time. You’ll want to choose a breathable, washable waterproof mattress protector, and plan to machine-wash protector every couple of months following the care label to keep it fresh.
Mattress protectors are a great choice for keeping your sleep space hygienic. If you need extra defense, pick an encasement style to block dust mites and allergens, which helps prevent future deep cleans.
To keep your mattress clean long-term, schedule future cleans every six months. Address spills immediately, and let the protector absorb any remaining moisture before it reaches foam layers.
Recommended Products

Odor Elimination: Tackles tough pet odors using the power of baking soda and fresh scents, leaving your carpets smelling fresh and clean

Relax into an enticing blend of vanilla, sandalwood, and fresh florals with Downy Calm

Odor Elimination Technology: Eliminates bad odors at the source using advanced formula technology that neutralizes airborne and in-carpet smells
Refresh Pillows and Set Maintenance Reminders
While you’re already thinking about your mattress, don’t forget your pillows, since they collect just as much dust, dead skin, and allergens over time. Grab your vacuum cleaner and run it across the surface, paying special attention to seams and creases where debris loves to hide.
For memory foam pillows, skip the washing machine, they’re too delicate. Instead, mix mild dish soap with warm water, or create a cleaning solution of equal parts vinegar and water, then gently blot with a damp cloth.
If hand-washing is allowed, submerge in warm water with mild detergent, squeeze until rinse water runs clear, and air-dry fully with a fan to stop mildew.
- Vacuum surface and seams monthly
- Spot-clean foam with soap or vinegar solution
- Hand-wash fillable pillows twice yearly
- Air-dry completely before use
- Set phone reminders every six months
A mattress protector acts as your first defense, but this simple routine keeps everything fresh.
Recommended Products
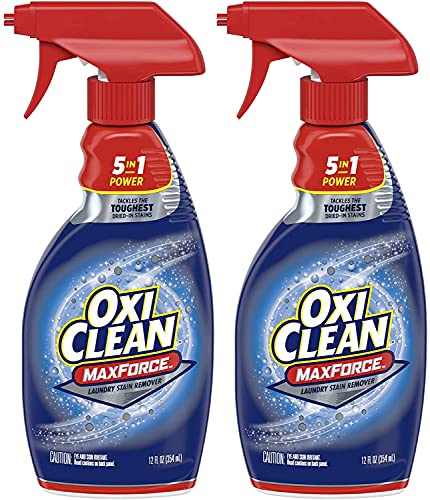
4 types of stain fighters
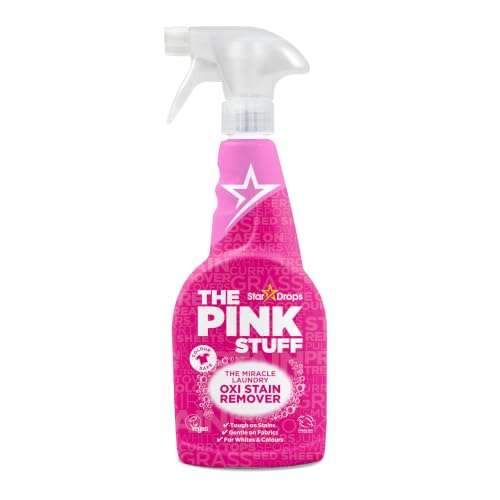
Powerful Stain Removal: Effectively tackle tough stains with The Pink Stuff Miracle Laundry Oxi Stain Remover Spray. Its powerful formula targets and lifts stubborn stains like grease, oil, and dirt from clothes and fabrics

[Powerful Protein-Stain Breakdown]: Infused with active protease enzymes, this formula is specifically designed to break down protein-based residues like sweat and skin cells. The professional foam effectively loosens and removes set-in stains and accumulated dust from mattresses, helping restore fabric cleanliness.
Leave a Reply