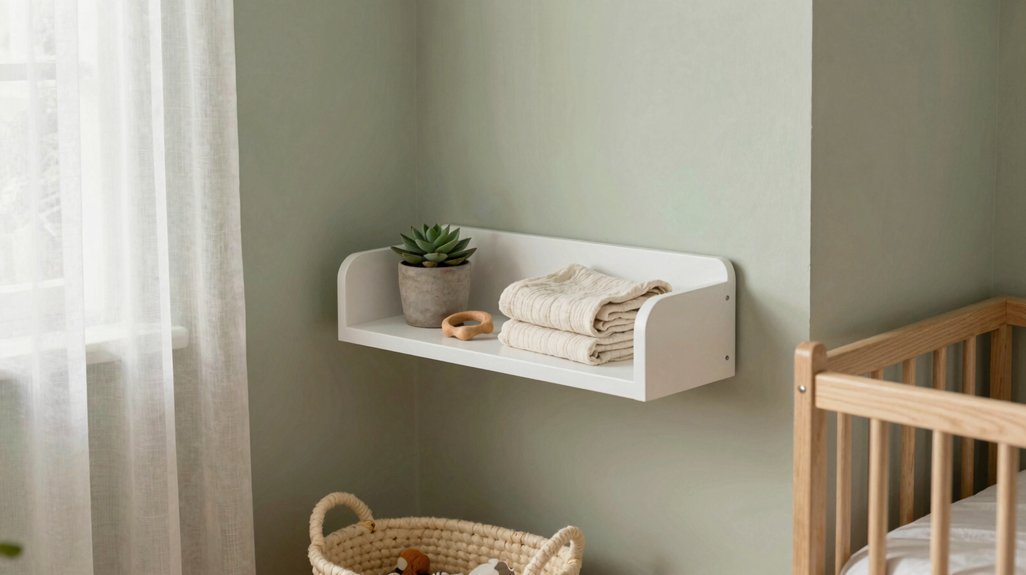
You could drown in burp cloths and butt paste faster than you can say “sleep regression,” but a tiny nursery doesn’t have to feel like a storage closet exploded. Start by ditching what doesn’t serve you right now: clothes that won’t fit for months, duplicate gadgets, anything without a daily purpose. You’ll carve out breathing room fast, and that’s when the real space-saving magic begins.
Stick around, and you’ll see how vertical storage, drawer dividers, and one firm “sleep zone” rule will stretch your square footage further than you thought possible.
Purge First: The Pre-Organizing Mindset for Small Nurseries
If you’re staring at a closet-sized nursery that’s barely 63 square feet, your first move isn’t buying bins, it’s grabbing everything and pulling it out. To organize a small nursery, you purge first, spreading every item across the floor for a full inventory check of what you actually own.
Start purging by sorting clothes into three piles: “fits now,” “can be grown into,” and “outgrown.” You’ll keep only essentials, since babies mostly eat, sleep, and live in sleepers anyway.
The “fits now” pile gets prime space, while outgrown items go straight into a too small bin or vacuum-sealed bag, labeled by size so nothing sneaks back into daily storage. Take everything out, decide what matters, and put back one category at a time. This stops accumulation before it starts.
Recommended Products

WATERPROOF & WIPEABLE CHANGING PAD: The surface of the baby diaper pad is waterproof and can effectively prevent moisture from seeping in. The smooth and washable surface allows for quick and easy cleaning of stains, ensuring a hygienic space for every replacement

Includes one changing pad cover

Waterproof & Wipe-clean – Unavoidable mess and frequent laundry? Oh, no worries! Our contoured changing pad features a waterproof PU surface that wipes clean in seconds, ensuring a fresh and hygienic surface for your next diaper change. Fewer cover changes and less laundry make parenting easier
Limit Baby Items to True Essentials
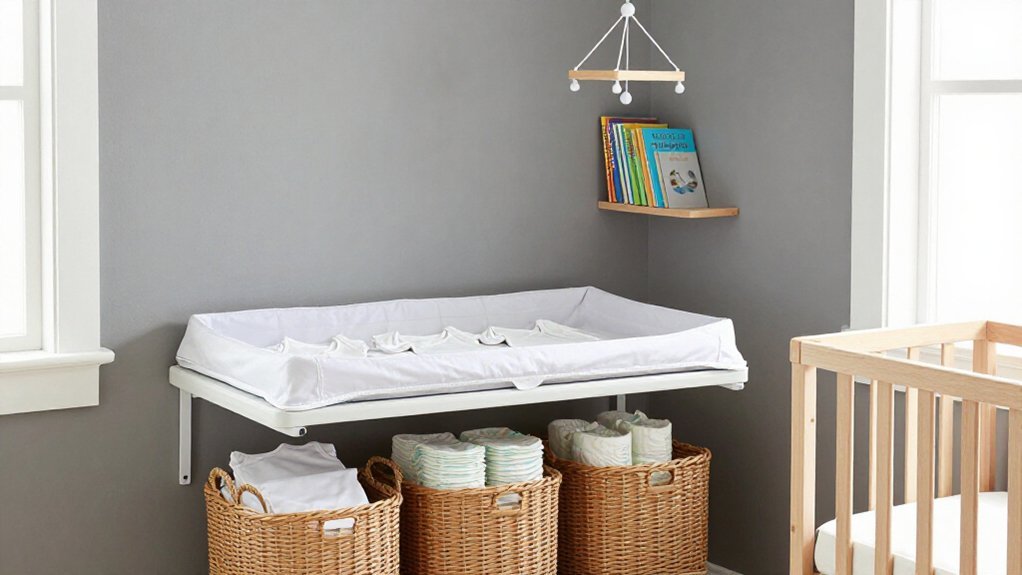
Because your nursery measures roughly seven by nine feet, you’ll need to be ruthless about what earns a spot in the room. Start by emptying your nursery closet completely, then limit returns to true daily needs. Newborns mostly sleep and eat, so you’ll use fewer items than you expect.
Store essentials like wipes, diapers and wipes, and a handful of sleepers within arm’s reach. Rotate baby’s clothes by size, keeping only current fits accessible and boxing the rest. Pre-organize before birth, since small spaces punish clutter faster than larger rooms.
Create labeled bins for newborn, 0–3 months, and 3–6 months to stop duplicate purchases. Move overflow to other rooms. Smart storage solutions keep visual order, and that’s a great choice for maintaining calm in tight quarters.
Recommended Products

Versatile Storage Solution: Our dresser organizers come in 3 different sizes to keep your space organized and clutter-free, optimizing your daily storage needs. The set includes 4 large (11"x11"x4.5"), 4 medium(11"x5.5"x4.5"), and 2 small (5.5"x5.5"x4.5")

【Various Sizes Baby Drawer Organizers】One set includes 18pcs drawer bins in 3 different sizes, including 6pcs large square bins(11×11×4.5 inches), 6pcs rectangle bins (11×5.5×4.5 inches) and 6pcs small square bins (5.5×5.5×4.5 inches). The height is 4.5", which perfectly fit with most of closet drawers or as storage drawers for shelf.

Premium Non-Woven Fabric: Our drawer organizer are crafted from breathable, durable, and tear-resistant non-woven material, and the PP board inserts to maintain shape and support, ensuring long-lasting
Small Nursery Changing Station: Repurpose a Dresser
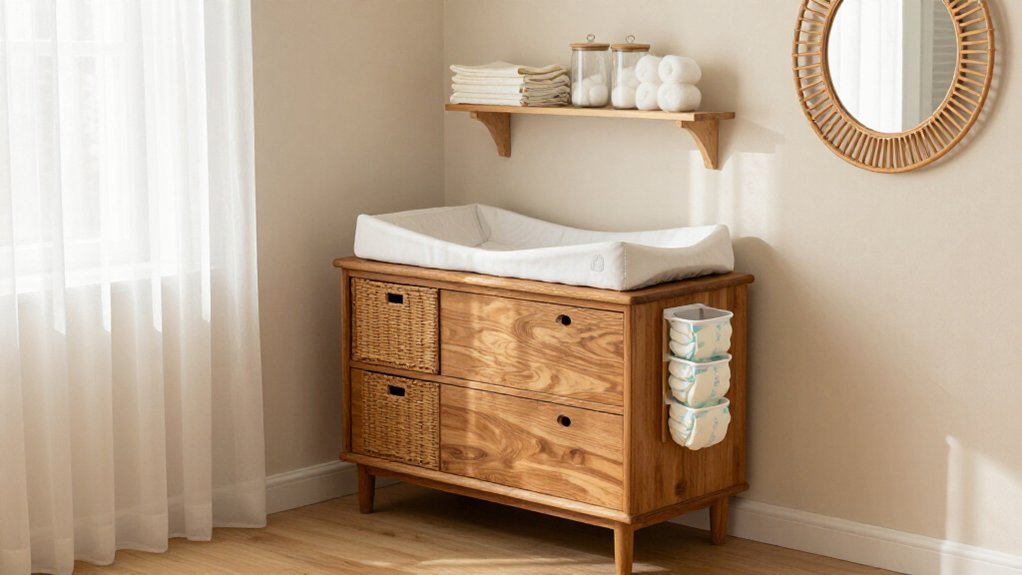
When floor space is tight, you’ll want furniture that pulls double duty, and a sturdy dresser makes a great changing station with just a few tweaks. You’ll place a 34-inch changing pad on top, and a 37-inch-wide dresser gives a little extra breathing room, which works great.
Stock your top drawer with diapers, burp cloths, and a small wipe stash for fast one-handed access. Keep a small basket on the dresser top for lotion, cream, and wipes so you’re not hunting mid-change. Add a custom shelf if there’s an awkward wall fit to extend your usable surface.
See yourself grabbing a fresh diaper without waking your baby. Feel the relief when every essential sits within arm’s reach. Reclaim precious vertical space for what matters most.
Tuck a diaper pail beside your small changing station to cut clutter and trips.
Recommended Products

[STACKABLE & DUSTPROOF] Measuring 14"L x 10"W x 9.5"H, each clothes storage bin comes with a removable lid, allowing you to stack these storage bins for shelves or closet to not only keep room clean and neat, protect your clothes/beddings from dust and hide contents; also stylish for home decor.
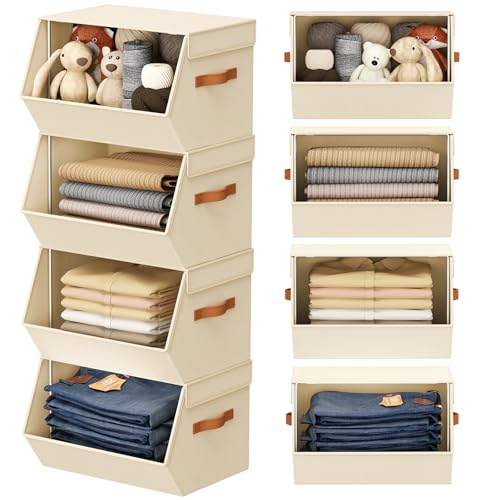
[Stackable & Modular Storage System] Maximize vertical space with multiple closet storage bins that stack securely. Perfect for closets, laundry rooms, wardrobes, storage spaces, and bedrooms — mix and match freely to meet your household needs and flexibly expand storage capacity

Product Size: To ensure a perfect fit for your wardrobe, please pay close attention to the product dimensions before making a purchase. Each storage box layer measures 16.73 inches in length, 13.11 inches in width, and 7.28 inches in height (equivalent to 42.5 cm x 33.3 cm x 18.5 cm). Double-checking these measurements will help you avoid any compatibility issues.
Organize Dresser Drawers for Midnight Diaper Changes
You’ve got your dresser set up as a changing station, and now it’s time to turn those drawers into a system that works when you’re running on three hours of sleep. Reserve that top drawer for diapers and burp cloths, your true midnight essentials, so you never fumble during a diaper change.
Add drawer organizers to separate categories: expandable dividers work great for keeping diaper creams, spare burp cloths, and tiny socks from mixing together. Label each compartment with clear, forward-facing tags so restocking happens fast, even in the dark.
Store overflow sizes and backup supplies in lower dresser drawers or a nearby basket, keeping only urgent items at arm’s reach. Plan ahead: position the next size up diapers in the same drawer system before you need them.
Recommended Products

15-pack of assorted size vacuum storage compression bags for storing off-season clothes, towels, linens, and more

Frosted Privacy & Heavy-Duty Protection.These vacuum storage bags feature a stylish frosted gray, semi-transparent finish that keeps your belongings organized while adding a touch of privacy. Crafted from durable, reusable PA+PE material and equipped with a secure double-zipper seal, they help keep clothing and bedding protected from dust and moisture while compressing bulky items to save up to 80% of storage space.

Set of heavy-duty plastic vacuum compression storage bags
Vertical Storage: Wall Shelves Above the Changing Station
When you’re changing a squirmy baby at 2 a.m., you’ll want everything within arm’s reach without digging through drawers. Mount floating shelves directly above your changing station, keeping diapers, wipes, and that middle-of-the-night thermometer right where you need them, but always anchor into wall studs for safety.
Leave one small empty spot on the lowest shelf, too, so you’ve got room to tuck a random toy or wet wipe out of tiny hands when chaos hits.
Recommended Products

【Fits Most Rods】:1.625 inches inner diameter which is larger than almost baby clothing dividers can fit rods of which diameter no more than 1.5 inches. Never worry about the rod diameter problem

MAKE ORGANIZING BABY CLOSET A BREEZE – Having a baby is tough. Our baby closet dividers Keep clothes organized and sorted! No more having to look at the tags to see the size and spending hours trying to get sizes organized!

Streamlined Nursery Organization: Talented Kitchen labels transform any nursery into a well-organized haven with ease. These adhesive drawer labels provide a sophisticated and durable solution for stylish organization
Maximize Vertical Space
On top of your dresser-changing station, open wall shelves give you storage that reaches upward instead of eating precious floor space. When organizing nursery, using wall storage helps you make use of vertical square footage that would otherwise stay bare.
- Install floating shelves topped with labeled bins for midnight emergencies, so you don’t fumble for the thermometer while baby wails.
- Fill your top shelf with bulky-but-infrequent gear, keeping daily diapering tools within easy arm reach.
- Leave that bottom shelf intentionally half-empty, creating a quick-hide spot for clutter that threatens your sanity.
Anchor shelves into wall studs with 2-inch wood screws, or use toggle anchors rated for 50 pounds when studs won’t align. In a small nursery, your open shelves work hard, so stable mounting prevents wobble when you’re grabbing supplies one-handed.
Essential Item Accessibility
Since you’ll be changing diapers dozens of times daily, place open wall shelves 18 to 24 inches above your dresser changing station, angling them so you can snatch supplies one-handed without twisting. Keep your frequently used items in labeled storage boxes, making wipes, snot-sucker, thermometer, and baby Tylenol visible at a glance.
You’ll reserve the top shelf for backups and first aid supplies, while positioning your changing pad essentials within easy reach. This setup beats bulky changing tables that eat floor space, and you won’t need to rummage through closet rods or under-crib storage mid-change.
Mount everything into wall studs for safety, since you’ll be grabbing with one hand while steadying baby with the other.
Intentional Empty Zones
Because you’re working with limited square footage, you’ll want to claim every inch of vertical real estate above your dresser-changing station. Install open wall shelves about 12-16 inches deep, anchored into studs, to organize baby items without eating floor space. You’ll group things by function: medical supplies in one spot, hair accessories in another, so your hands know where to reach when you’re wrestling a wiggly baby on the changing pad.
Use storage boxes for middle-of-the-night essentials like thermometers and snot suckers, so you’re not stumbling to the closet at 3 a.m. Reserve intentional empty zones on the bottom shelf for overflow or things you don’t want grabbed immediately. This keeps your small nursery calm, not cluttered.
- You’ll feel relief knowing exactly where the thermometer hides during a fever scare.
- You’ll breathe easier seeing clear surfaces instead of chaos above your dresser as a changing station.
- You’ll reclaim mental energy when every item has a predictable home.
Small Nursery Decor That Doubles as Clothing Storage
You can mount a peg rail or DIY reclaimed-wood pegboard at roughly 48 inches high to display two or three special dresses as rotating wall art, while the pegs themselves hold tiny accessories like pacifier clips and teething necklaces so decor earns its keep.
Pair this with a dresser setup where the top surface corrals daily-use baskets for wipes and creams, the top drawer stashes diapers and burp cloths, and lower drawers use labeled dividers for folded clothing sorted by size. It keeps everything visual, reachable, and honestly pretty great for small spaces where every inch matters.
Recommended Products

Easy-to-Clean Surface: Our changing table pad features wipeable material so it’s simple to clean up after diaper changes (plus, no need for changing covers means less laundry) Even better? it won’t absorb liquids or odors

Waterproof & Wipe-clean – Unavoidable mess and frequent laundry? Oh, no worries! Our contoured changing pad features a waterproof PU surface that wipes clean in seconds, ensuring a fresh and hygienic surface for your next diaper change. Fewer cover changes and less laundry make parenting easier
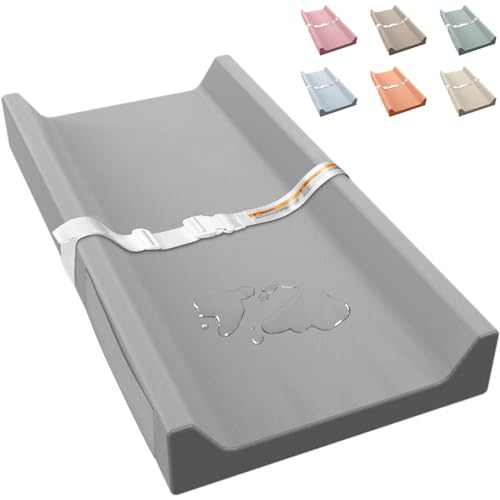
HIGH QUALITY FABRIC: Made of durable and easy to clean PU leather material. This changing pad features a waterproof and wipeable surface that resists liquids, stains and odors, keeping your baby's space hygienic with minimal effort
Peg Rail Displays
When you’re working with a cramped 7×9 foot nursery closet, every inch of wall space needs to pull double duty. Peg rail displays give you storage that looks like nursery decor, and you’ll love how they change blank walls into functional changing stations. Put baby clothes right where you need them, organizing outfits by size or occasion without digging through drawers.
You’ll want to install your rail close to the changing area, hanging a rotating selection of special dresses that make you happy while serving real purpose. Use larger pegs for dresses, smaller ones for teething necklaces and pacifier clips, so everything finds its home. Rotate pieces seasonally, keeping only a chosen few visible while stashing the rest in labeled bins. Leave empty pegs for growth, great choice for evolving needs.
- That tiny hand-knit cardigan from grandma, hanging where you’ll see it daily
- The first birthday dress, waiting patiently for its moment
- Empty pegs holding space for memories you haven’t made yet
Rotating Dresser Zones
Since you’re already dedicating floor space to a dresser, you might as well make it work harder than a standard clothing storage unit. Change that dresser into a changing station plus clothing storage hub by splitting drawers into rotating dresser zones: Newborn, 0–3 months, 3–6 months, and “next size up.” You’ll grab outfits fast without rummaging while baby gets dressed.
Use drawer dividers or labeled fabric bins so each zone holds one type at a time, sleepers with sleepers, socks with accessories. Keep everything in the top drawers: diapers, burp cloths, daily outfits. Never leave baby unattended on the changing surface.
Rotate by swapping whole bins forward when sizes change, packing outgrown items into labeled containers. Store small accessories, items like pacifiers, in a bottom organizer so they stay visible and contained.
Give Everything a Home (You’ll Thank Yourself at 2 AM)
Because sleep deprivation makes even simple tasks feel impossible, every essential item in your nursery needs a predictable spot you’ll find in the dark. You need assigned homes for everything your baby uses daily. Pacifiers go in a bowl on the shelf, books rest in a basket by the glider, and diapers belong in the top drawer of the dresser.
You need to store extra baby clothes and new things in under-crib bins, saving precious floor space. Use drawer dividers to keep tiny items from becoming chaos: snot sucker, thermometer, first-aid supplies, and pacifier clips each get their own compartment.
- Relieved when you grab that pacifier instantly at 2:47 AM
- Grateful your partner knows exactly where the thermometer hides
- Proud that you’ve created calm in the smallest hours
Recommended Products

Classify Match: DIMJ Sets of 12 drawer organizer clothes help you storing Underwear, Bras, Socks, Ties, Scarves, Shirt, T-shirt, Underpants, Undergarment, accessories etc. Easy to find which one you want to wear and never need to ransack all of your clothes.

[Multi-Scene Use] Drawers organizer storage can be used in a variety of scenarios, bedroom, living room, office, children's room are good choices. Drawer organizer for clothes help you make full use of storage space, organize your clothes, books, toys, cosmetics and other various household items, satisfy your long-term storage needs

CLEAR DESIGN: The cubes' see through transparent design makes it easy to organize your travel essentials. Perfect for keeping your suitcase or backpack neat and tidy.
Keep Toys Out of the Nursery Entirely
You’ll keep your tiny nursery focused on sleep, snuggling, nursing, and diaper changes by storing all toys in the main living area or an older child’s room. When you want to read together, bring in a small selection, then remove it right after, so the 7×9 ft space stays calm and uncluttered.
Books can stay beside the glider as your one exception, but everything else play-related belongs outside the door.
Recommended Products

Package Contains: 1 hanging closet organizer (Original patented design)

Ample Storage Space: This 5-drawer dresser provides generous storage for clothing, accessories, and household essentials, keeping everything neatly organized. The sturdy wood top offers reliable support for lamps, books, décor, and other daily items

4+10 Upgraded Storage Capacity – Featuring 4 spacious compartments, 2 transparent PVC pockets on top, and 8 mesh side pockets, our newly launched over the door organizer offers all-in-one neat storage for everything from bulky household items like clothes, blankets, wipes, and plush toys to small, easily misplaced essentials such as hair ties and Bluetooth earbuds. This latest 5 tier door hanging organizer boasts expanded layers with over double the width and spacing, allowing you to keep everything within easy reach and perfectly organized. 48”(Height) X 14”(Width) X 5.5”(Deep)
Sleep-Only Zone Purpose
If you’re working with a nursery that’s roughly 7 by 9 feet, every square foot has to pull double duty, and that’s exactly why you’ll want to keep toys out of the room entirely. You’ll preserve precious floor space and stop clutter before it starts, since zones overlap fast in tight quarters.
This sleep-only policy lets you dedicate every bin and surface to actual needs. You can put a changing pad on a narrow dresser, stash changing supplies in the top drawer, and set up a disposal system within arm’s reach. No toy piles means you find what you need at 2 a.m. without rummaging.
You’ll feel relief when the floor stays clear for midnight feedings. You’ll feel calmer without visual chaos competing for attention. You’ll rest better knowing everything has its place, and nothing’s stored anywhere it shouldn’t be.
Living Space Storage
Toys need a home, and that home isn’t your nursery. You keep your 7×9 space focused on sleep, snuggling, nursing, diaper changing, and reading, and you move all toy storage into your living room instead. This keeps your tiny nursery closet completely clutter-free.
You designate open play storage in your living room, like a low shelf with baskets or bins, so toys stay accessible without spilling into your nursery floor zone. A rolling cart works great for storing toys, and you can wheel it wherever play happens. You welcome creative storage solutions, like vertical storage on walls or multi-functional furniture with hidden compartments. You follow a strict one-in/one-out rule, moving outgrown items out immediately so toy overflow never reclaims your space.
Book Basket Exception
Books stay in the nursery, but everything else goes. In your small nursery, keep a small basket of books right beside the glider, within arms reach for quick pre-nap reads. This book basket exception lets you maintain the room’s calm purpose without letting toys take up a lot of precious floor space. Store most toys in the living area, and rotate titles periodically from your main bookcase so the nursery stays tidy yet fresh.
You preserve precious square footage for actual sleeping and feeding, not plastic clutter. You create a peaceful ritual spot where stories, not stuff, fill the final moments before rest. You reclaim your sanity when every item has a right place, and that storage box holds only what truly belongs.
Keep Outgrown Clothes Out of the Nursery
Since babies outgrow outfits faster than you can fold them, you’ll need a system that keeps the nursery from turning into a clothing graveyard. Start organizing the nursery by making a “too small” bin right away, so anything that no longer fits gets removed within a day. Keep only “fits now” clothes in easy-access drawers, and put things back where they belong after each use.
Store “can grow into” and outgrown clothes higher up, tucked away on a top shelf or under the crib, since future sizes don’t need prime real estate. Use size-labeled compartments, newborn through 12 months, so you can swap bundles quickly without rummaging when you’re exhausted. Rotate seasonal items using vacuum-sealed bags, keeping bulky off-season pieces out of your daily 7×9 closet footprint.
Storing baby clothes this way lets essential baby items have room to move, while items you don’t need stay out of sight. It’s a simple double duty approach that works.
Recommended Products

Expand your storage by up to 80%: Our large vacuum seal storage bags effortlessly compress clothes, blankets, pillows, and travel essentials in seconds, transforming overcrowded closets and overpacked suitcases into clean, organized space- no clutter at home, no unnecessary luggage fees. Just more room whenever you need it.
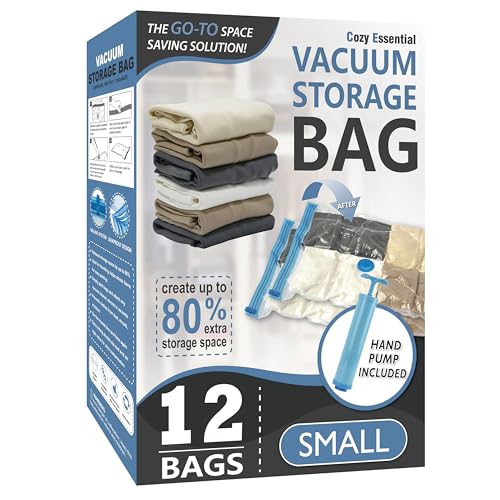
Expand your storage by up to 80%: Our large vacuum seal storage bags effortlessly compress clothes, blankets, pillows, and travel essentials in seconds, transforming overcrowded closets and overpacked suitcases into clean, organized space- no clutter at home, no unnecessary luggage fees. Just more room whenever you need it.

5-pack of Large size vacuum storage compression bags for storing off-season clothes, towels, linens, and more
Add a Rolling Nursing Station (and a Soft Laundry Basket)
When you’re feeding at 2 a.m., the last thing you want is to hunt for your nursing pads or realize the burp cloths are across the room. You need a rolling nursing station that keeps your essentials mobile and your sanity intact.
- Stock your caddy with a backup layer of extra wipes/pads and one change of burp cloth so you never cross the room mid-feed.
- Use clear labeled pockets for nipple cream and pacifiers, keeping everything visible when baby wakes suddenly.
- Add a soft laundry basket as your grab-and-go hamper; it’s squishable for tight corners and lightweight to carry.
This space-saving setup moves easily between your bed, glider, and changing area. Choose a compact organizer with handles, and you’ve got a good choice for those bleary-eyed nights.
Recommended Products

👶 1. QUANTITY & SIZE:540 baby clothes size stickers per pack, each measuring 1.25 inches in diameter. Baby clothes size stickers this quantity suits consignment stores processing seasonal inventory, daycares labeling cubbies, or parents organizing multiple children's closets. Infant clothing size labels 1.25 inch size fits on clothing tags, clear bins, shelf edges, and hanger hooks without overwhelming small spaces.

Elegant Closet Organization: The Talented Kitchen Closet Labels enhance your closet organization with 224 preprinted, adhesive labels. Perfect for wardrobe labels and closet dividers, these labels ensure each item has its own designated space

Essential value pack name labels for daycare. (1) pack of Simply Colors Baby Bottle Labels and (1) pack of Highlighter Clothing Labels.
Leave a Reply