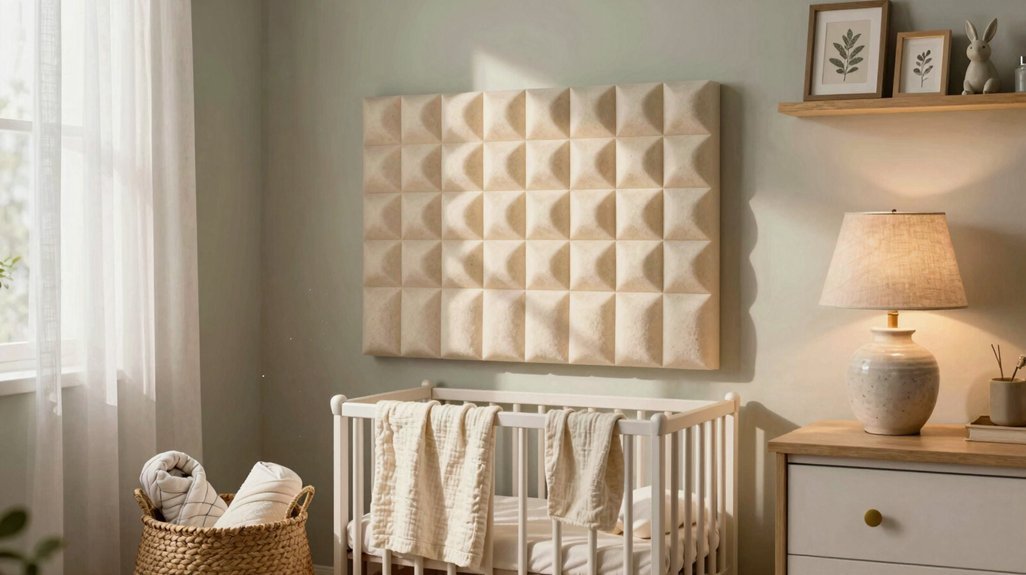
Silence is a blanket you can’t buy off the shelf, but you can stitch it together piece by piece. You’ll start with the gaps, those tiny cracks around doors and windows that let noise slip through like water through a sieve.
A 36-inch adhesive door sweep costs about fifteen dollars and takes twenty minutes to install. The real work, the kind that actually blocks your neighbor’s footsteps from above, comes later.
You’ll want to know what that involves before you spend a dime.
What You Can (and Can’t) Modify in Your Condo Nursery
The gaps in your nursery are your real enemy, especially the ones you can actually reach yourself. A tiny 1% gap around your door can leak about 30% of sound, and a quarter-inch bottom gap leaks even more.
You can’t fix everything, though. Single-pane windows are pretty much the worst for noise control, but you can add heavy soundproofing curtains or fitted inserts to block 60–80% of outside noise.
You can seal gaps around the door with weatherstripping and a door sweep. That’s a great choice for basic improvements. Don’t expect much from acoustic panels or foam, they only soak up echo inside the room. For real blocking, you’d need professional work like dual drywall, which you probably can’t do.
Add white noise to mask what gets through.
Recommended Products

PREMIUM MATERIALS – The Door Draft Stopper are made of silicone material, which can bend and deform. Draft stopper for bottom of door is very flexible and will not damage your floor. Door strip is also very sturdy and has a longer service life. Size: 2” W x 39” L

BLOCK DRAFTS EFFECTIVELY – High-quality door draft stopper made from industry-grade silicone with exceptionally strong adhesive. Our door sweep for the bottom of doors puts an end to all draft problems, cold air, and dust (for exterior doors and indoors). Size: 2” H x 39” L

Thickened Silicone Material-Heat And Cold Resistant:Door Draft Stopper is made of pure silicone material, easy to bend and deform.Smooth surface, high resilience.Draft Stopper for Bottom of Door puts up with all the abuse, it has no "compression memory", wont't damage the floor, and is pliable enough that you can easily still open the door along the crooked floor and against daily wear
Seal Air Gaps: Doors, Windows, and Outlets
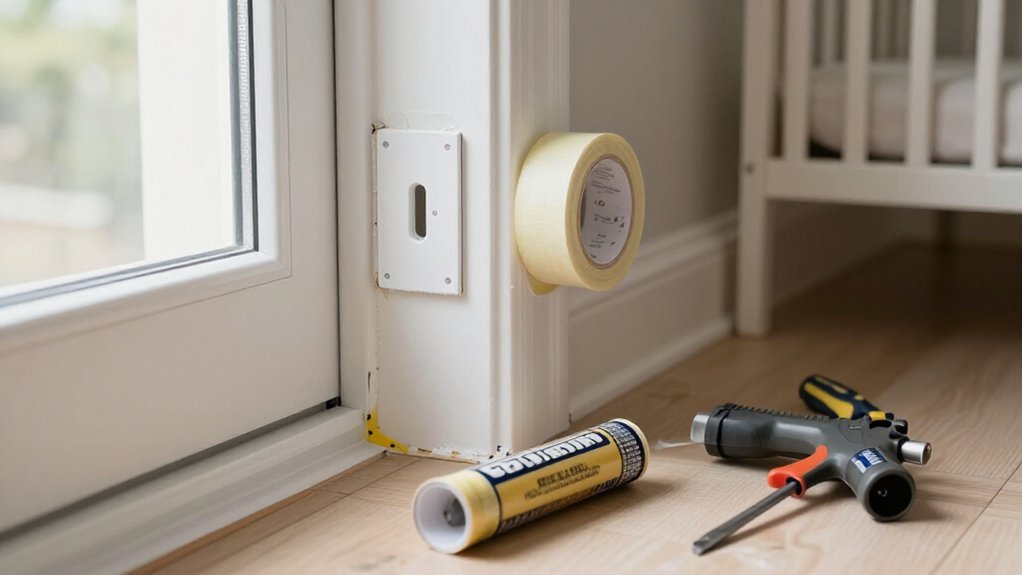
You’ll want to tackle door gaps first since even a tiny 1/4-inch bottom opening lets through a surprising amount of noise, and a basic door sweep paired with adhesive weatherstripping around the edges makes a noticeable difference without much fuss.
Next, check your windows for frame cracks where sound sneaks through, sealing them with acoustic caulk or compression weatherstripping to close those shortcuts. Don’t forget the outlets and switch plates; those small perimeter gaps around electrical boxes let more sound pass than you’d expect, so adding foam gaskets or caulk behind the covers is worth the extra few minutes.
Recommended Products

High-Efficiency Sound Insulation: This WANJAO acoustic sealant is specifically designed to reduce sound transmission. By filling gaps, it effectively blocks sound from propagating through walls, wall panels, and door seams, significantly outperforming ordinary sealants.

SOUND, DRAFT and SMOKE SEALANT – TMS Acoustical Caulk provides impressive soundproofing, significantly reducing noise transmission through walls, ceilings, and floors.

1. Helps Seal Everyday Door & Window Gaps — Helps block drafts, dust, moisture, light gaps, and everyday noise around door frames and window gaps. A simple way to improve comfort in bedrooms, living rooms, offices, and entryways.
Door Gap Sealing
Since even tiny openings let sound escape more than you’d expect, grab a ruler or thin card and slide it along your door edges, especially at the bottom. You’ll find gaps you didn’t know existed, and that’s where your soundproofing solutions start. A 1/4 inch gap at the door bottom lets massive amounts of outside noise through, so install a sweep or weather stripping there first.
Next, seal gaps around the entire frame with acoustic caulk or weather-stripping tape. Sound waves travel as pressure through these air gaps, even when your door material is solid. Check outlets and wall penetrations near the door too, sealing them with acoustic sealant to block sneaky transmission paths.
Test your work by playing consistent sound inside and outside, then add more soundproofing materials if needed.
Window and Outlet Sealing
At windows, you’re fighting the same battle as doors: air gaps are the real enemy, not the glass itself. You’ll want to seal those gaps tight with peel-and-stick weather stripping, and consider soundproof inserts or thick, multi-layer curtains that fit airtight around the window frame. These can cut outside noise by 60 to 80%.
Don’t skip the outlets, either. Any outlet box on a shared wall lets sound slip through, so fill and seal around those penetrations. The same goes for gaps at the door frame. Even a quarter-inch bottom gap leaks serious noise.
After you’ve sealed everything, do a quick reality check. Play soft audio outside the room, then listen at your baby’s sleep spot to confirm you’ve caught the worst leaks before adding acoustic panels or Soundproof Panels.
Soundproof Shared Walls Without Removing Drywall
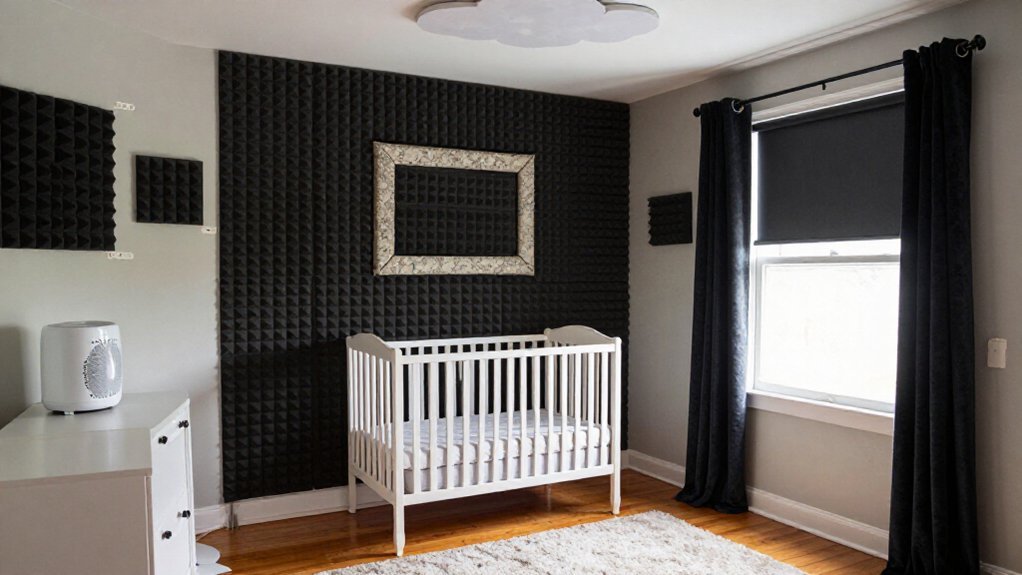
Before you start buying materials, you’ll want to figure out exactly where the sound is sneaking through. Locate the shared-wall weak spot, often an HVAC return cavity, and confirm sound bleeding by listening from inside the nursery while noise plays outside. Seal air gaps around outlets and seams, since even tiny openings dramatically increase leakage.
To soundproof shared walls without removing drywall, add a floating second layer using isolation clips like RSIC-1, which separates new gypsum from the existing structure. For a simpler option, apply a barrier/mass layer with a decoupler plus new drywall to block sound, though it’s less effective than clip systems.
For higher performance, use viscoelastic damping like Green Glue between two drywall layers, converting airborne energy into heat. This approach helps absorb sound and reduce impact noise when you soundproof a baby room. Installing acoustic panels on walls or an acoustic ceiling can further help, but focus first on mass and sealing for real results.
Recommended Products

The product is 6Pk wht foam out sealer
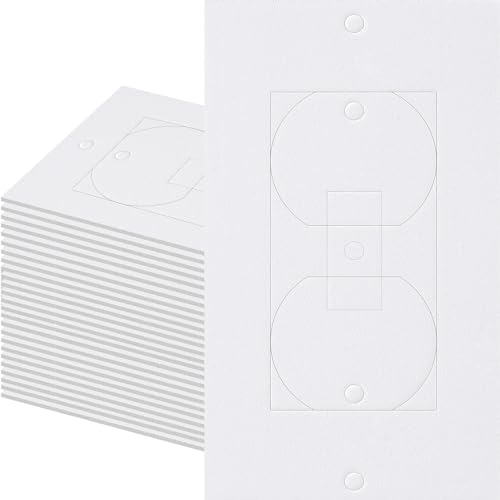
Keeps the draft out: By blocking drafts, draft sealers help to maintain a consistent temperature improving comfort and reducing energy consumption, making them an essential addition to any energy-saving strategy.

BLOCK COLD AIR & DRAFTS: Place These Foam Pads Behind Electrical Wall Plates to Help Reduce Air Leaks and Cold Airflow Entering Through Openings, Keeping Indoor Spaces More Comfortable During Colder Months
Block Footsteps From Upstairs Neighbors
Start with ceiling barriers, since that’s where footstep impact noise sneaks through most stubbornly. For impact noise solutions, you’re looking at thick rubber-backed rugs with dense underlayment upstairs, paired with acoustic fiberglass panels or fabric-wrapped baffles mounted to your nursery ceiling.
If you’re still catching thumps after that, a decoupled ceiling system with resilient channels creates separation from the floor joists above. You can test your work by playing a soft lullaby, listening for any lingering low-frequency rumble that signals vibration still traveling through the structure.
Recommended Products
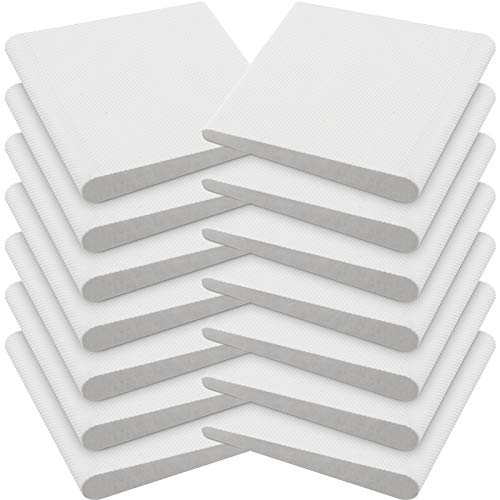
Package includes: you will get 14 pieces door corner seals, the size is 2 inch long, 1.75 inch wide, 7/32 inch thick; The self adhesive vinyl foam corner seal has a quick and simple installation
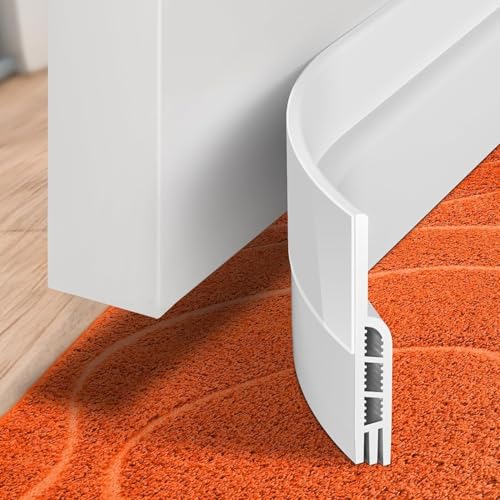
Robust adhesion: door draft stopper, Sheets, rolls & strips, 41inch length by 2inch width, filling gaps up to 1 inch, equipped with exceptionally strong adhesive that remains intact over time, ensuring a secure bond for enduring door protection; If you have doubts about the size and color of the product, you can consult our customer service before purchasing

SLIDE-ON PVC DOOR SWEEP – 36 inch door sweep for the bottom of the door is designed for 1-3/4" thick doors and helps create a durable seal between the door bottom and existing threshold. Ideal for wood or metal doors.
Ceiling Barrier Options
Since footsteps from upstairs travel as vibration through your ceiling joists before becoming audible noise in the nursery, you’ll want to focus on treatments that actually block that structural transmission rather than just hanging decorative foam. Ceiling barrier options like acoustic ceiling baffles and ceiling clouds, wrapped in fabric, absorb sound energy that would otherwise reflect hard off the ceiling. While soundproof curtains address windows, they’re not your ceiling solution here.
If you can access the space above, add insulation there to reduce transmission into your baby’s nursery. Low-frequency vibrations travel through structures easily, so effective systems combine sound absorption with mechanical isolation and mass, not foam panels alone.
After installing ceiling treatments, test with a consistent soft lullaby, then adjust. More absorption improves perceived quietness, though it won’t eliminate all upstairs noise pollution.
Impact Noise Solutions
When footsteps from upstairs rattle your nursery, you’re dealing with impact noise that travels through the building’s structure itself, not through the air. To soundproof baby room floors against these impact sounds, you’ll want floor underlayments that damp vibration before it reaches your space.
Rubber-backed area rugs work great as a first step, especially over hard floors where echo makes every footfall louder. For better results, layer a soundproof underlayment beneath your rug. Stacking treatments beats relying on one thin barrier. Thick carpeting helps too, absorbing sound while cutting noise transmission.
Test your setup by having someone walk upstairs while you listen below. You’re aiming to knock down that thump that wakes naps. Layering properly makes the difference between barely noticeable and genuinely helpful impact noise reduction in your nursery.
Choose Materials Your Condo Board Will Approve
Before you start shopping for acoustic panels or sealants, check with your condo board about what’s actually allowed on your walls and ceilings. Many boards approve removable acoustic panels with adhesive backing, but they’ll want formal sign-off for invasive systems like floating drywall with clips.
For quick sound control, start with gap sealers: door sweeps, weatherstripping tape, and acoustic inserts for windows. Sealing air gaps works wonders, since a tiny one percent gap around a door leaks about thirty percent of sound. Ask your board about heavy curtains too. Well-made ones block sixty to eighty percent of outside noise without any demolition.
If you want wall treatments, stick with the “absorb plus seal” approach boards prefer. Skip unsupported DIY fixes like egg cartons, and pick products with clear specs that match your condo rules.
Recommended Products
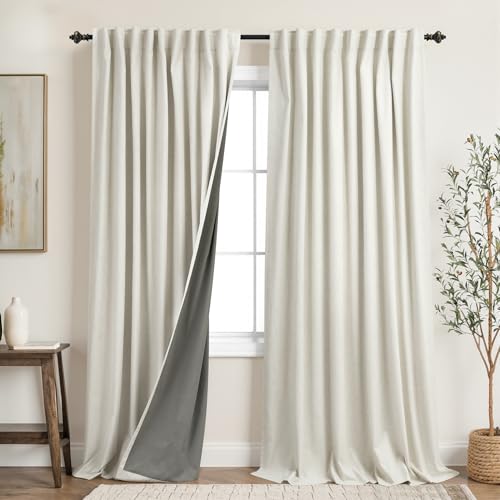
100% BLACKOUT: These linen textured curtain panels block out 100% complete sunlight and UV rays,turning day into night.Help on you and your kids sleeping.

LINEN TEXTURED – Package includes 2 panels each panel is 52 inches width, total width is 104 inch. Front layer is soft linen textured fabric, no Toxic & formaldehyde.

【Effective Noise Reduction Performance】These sound dampening curtains feature thickened fabric to muffle ambient noise and reduce indoor echo. Reliable noise blocking helps create a quiet, comfortable space for resting and working.
Contractor vs. DIY: What Condo Soundproofing Actually Costs
You’ll spend the least if you start with sealing, since a door gap as small as 1/4 inch can leak sound like an open window. DIY weather stripping and soundproof curtains, excellent for absorbing higher frequencies, help make a noticeable dent in outside noise. Soundproofing products like peel-and-stick foam tackle air gaps without breaking the bank.
When you’re dealing with shared condo walls, though, a contractor becomes worth considering. They’ll spot weak links you’d miss, like HVAC cavities, and can install RSIC-1 clips with dual drywall layers for real isolation. Green Glue between sheets adds damping that DIY foam can’t match.
For floor or ceiling vibration, professional underlayment often outperforms anything you’ll stick on yourself.
Recommended Products

【Strong Adhesive, Saves Money】Weather stripping door seal prevent heat and cold from escaping, save your heating and cooling bills. block noise, super adhesive, durable, not easy to degumming, easy to install

Aluminum-reinforced rubber provides a tough seal

Designed for sealing gaps up to 3/4 in. – 2-PACK OF DOOR SWEEPS
Leave a Reply